It’s no secret that I’m not a winter fan. I miss my garden. I miss sitting on the deck on a summer evening watching the fireflies light up my garden. In spring I can nibble on a peppery leaf of arugula or a crisp sugar snap pea and in the summer, a handful of cherry tomatoes off the beautiful Sun Sugar growing in a pot on my deck.
This time of year might find me staring out the window at a gray February sky—or cuddled in the corner of the sofa with a lapful of seed packets!
Of course, there are my usual favorites—Suyo Long cucumber; Jimmy Nardello’s Italian pepper; Cherokee Purple tomatoes—and there will be plenty of others. So what do I do with all this bounty? I start by reading the backs of the seed packets.
The Single Best Source of Information
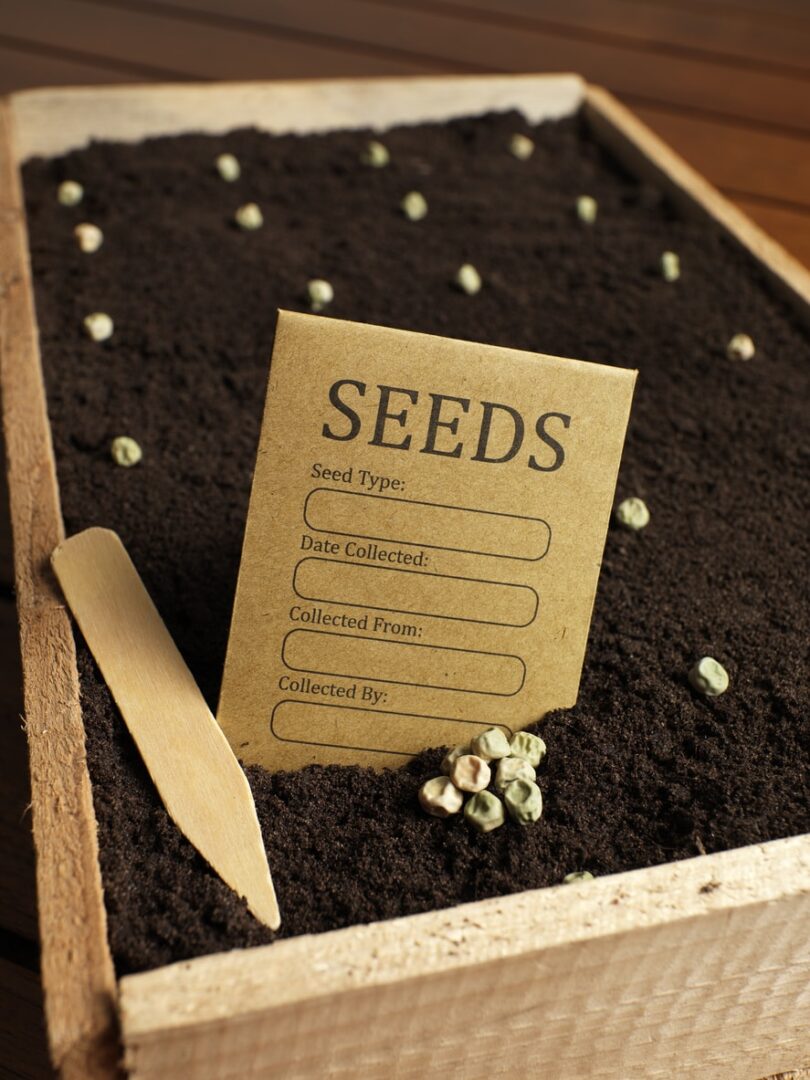
The seed packet is the best source of information on growing a particular variety. It tells you whether or not it’s an annual or perennial, how long it takes the variety to germinate, how long it takes to get your first harvest, when to plant, and even how deep to plant the seed.
Some of these seeds I’ll be starting indoors soon. My packet of peppers says to start the seeds indoors eight weeks before the last frost date. Some people will tell you the last expected frost date here is April 15. In the last three years, we’ve had frosts more than a week later than that. To avoid the aggravation of running around the yard at 11 at night in my bedroom slippers throwing blankets over everything, I always count back from May 1. That means I’ll start my peppers around March 1.
Tomatoes need about six to eight weeks so I’ll start them, too. Fast-growing seeds like cucumbers, peas, beans, and squash, I’ll sow directly in the ground. And root crops don’t transplant well so I’ll wait and sow those directly.
To start my seeds, I’ll choose a seed-starter soil like Espoma organic seed starter. I’ll choose a SUNNY window—unfortunately, there are very few lower-light veggies. On the packet of tomato seeds I’m looking at, it tells me it takes them 5 to 10 days to sprout. It tells me to plant seeds ¼” deep and to start indoors six weeks before our last frost date. So I’m going to follow those directions. That’s simple enough.
The secret to success, I’ve found, is to do what the seed packet says—and put the seeds in the sunniest possible window. Yes, grow lights can help, but I’ve had the most success using a grow-light in conjunction with some natural light.
3 Mistakes to Avoid
- Planting seeds incorrectly. Do what the packet says. If it says ¼ “ deep, do it. Some seeds won’t come up if planted too deep.
- Not thinning seedlings properly. Yes, it’s really hard to pull out tiny robust seedlings, but you have to give baby plants room to grow. If you don’t thin, they end up competing with each other for nutrients.
- Starting seeds too soon. Again, do what the packet says. If it says to start six to eight weeks before the last frost date, then do it. Don’t start seeds too soon. If you plant warm-season veggies outside too early, you’re dealing with still-cold soil. This can actually set roots back.
When you grow your own seedlings, you know how they’re grown—and who grew them! You have a vast array of varieties to choose from—fabulous varieties you’ll never ever find in starter plants. And more than anything else, you have the immense satisfaction of doing it yourself.
We have a terrific selection of seeds to choose from. Come in and let me show you some of my favorites!
I tend to be a seed hoarder. In fact, some of my packets are 10+ years old. Since I’m primarily a container gardener, I need to make every seed count without ending up with a lot of extra plants, so last year instead of starting my seeds in trays/pots/6-packs, I pre-sprouted them in moist paper towels: Just dampened a piece of paper towel & folded a few seeds in it, then placed the towel in a small Ziploc bag (marked with seed type) left partially open. In anywhere from 2 to 5 days everything had sprouted (even my ancient seeds!!). Afterwards it was easy to just pop the seeds – carefully so as not to bread off the fledgling root – into a tray/pot/6-pack. No worrying about wasted space or ungerminated seeds.
This works particularly well when/if you have much older seeds that you don’t want to toss without testing for germination first.
Hi Bonnie–I have pre-sprouted seeds on occasion, but these days I tend to use the whole packet. Extra seedlings I give to family or neighbors. But it is certainly a great way to tell if older seeds are still viable!